


Table of Contents
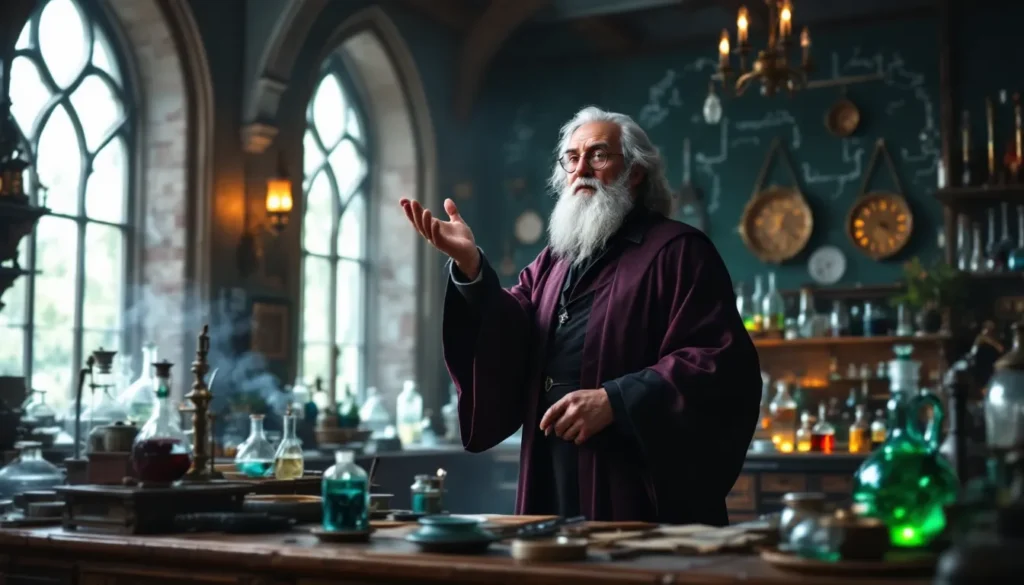
ToggleHogwarts Legacy throws players into one of the most immersive magical worlds ever built, and puzzles are woven throughout every corner of the game. Whether you’re exploring Hogsmeade’s cramped alleys, delving into ancient vaults, or uncovering secrets in dungeons, you’ll encounter puzzles that block your path to loot, abilities, and progression. Some are straightforward enough to crack in seconds: others demand genuine problem-solving or knowledge of specific spell combinations. This guide breaks down every puzzle type you’ll face, how they work, and the strategies that’ll get you through them without endless trial-and-error.
Key Takeaways
- Hogwarts Legacy puzzles fall into distinct categories—block pushing, elemental spells, door locks, astronomical alignments, potion-brewing, and combat-based challenges—each with specific mechanics and solution strategies.
- Use environmental observation and camera angles to uncover puzzle hints: glowing runes, discolored tiles, and distant symbols often reveal what actions or spells you need to take.
- Spell cooldown management is critical for multi-step puzzles; intersperse different spells and use potions to accelerate casting when solving puzzles that demand repeated spell usage.
- Block-pushing puzzles require planning your approach before moving—trace where each block needs to go and work backward to avoid getting blocks stuck in unreachable positions.
- Most Hogwarts Legacy puzzles are forgiving and allow you to correct mistakes without restarting; stepping away and returning with a fresh perspective often reveals solutions you initially missed.
- The game rewards thorough exploration over speed—collecting ingredients for potion-brewing puzzles and scanning areas for collectable items before committing to combat ensures efficient progression.
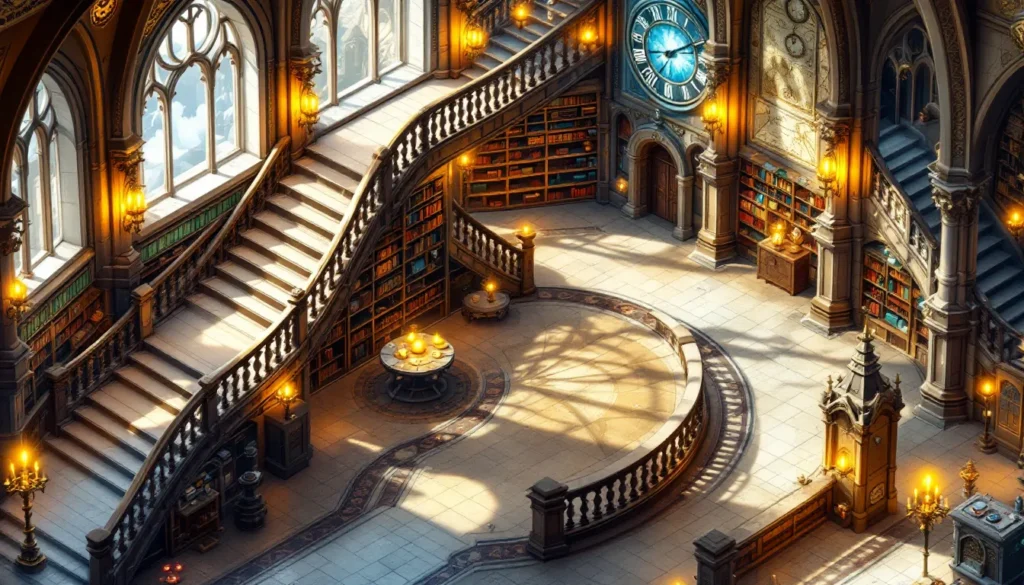
Overview of Hogwarts Legacy Puzzle Mechanics
Puzzles in Hogwarts Legacy fall into distinct categories, and understanding how they function is the first step to solving them efficiently. The game doesn’t force you to solve every puzzle you encounter, many are entirely optional and guard cosmetic rewards, side-quest progression, or loot chests. But, some are mandatory for story advancement or unlock crucial abilities.
The core concept is straightforward: use spells, environmental manipulation, or logical deduction to manipulate objects, match symbols, or align celestial bodies. Unlike linear puzzle games, Hogwarts Legacy typically gives you immediate visual feedback. If you push a block in the wrong direction, you’ll see it immediately and can correct course without restarting a puzzle from scratch.
Most puzzles reward exploration and observation. Pay attention to the environment, cracks in walls, glowing symbols, or suspicious arrangements of objects, as these are often hints. The game rarely demands pixel-perfect timing or complex multi-step sequences, making puzzles accessible to all skill levels while still offering genuine challenge for players who want to figure things out independently.
Block Pushing Puzzles
Block pushing puzzles are among the most common you’ll encounter. They’re straightforward in concept but occasionally require spatial reasoning to solve.
How Block Pushing Works
These puzzles present a grid-like room with one or more moveable blocks and a goal, usually pressure plates, grooves, or marked floor tiles where blocks must be placed. Push the block using your character’s movement (or certain spells) into the correct position, and the puzzle completes. The constraints are deliberate: you can’t pull blocks, only push them in cardinal directions (up, down, left, right).
Once a block reaches a wall or obstacle, it stops. This means you must approach from the right angle, pushing a block north requires you to position yourself south of it. If you push a block into a corner and later realize you need it elsewhere, you’ll need to find another solution or look for an alternate puzzle solution.
Common Strategies and Solutions
Plan your approach before pushing. Visually trace where each block needs to go and work backward. If two blocks must sit on adjacent plates, push them toward those positions methodically. If one block is needed in multiple positions (which the game doesn’t allow), look for alternate solutions, there’s usually more than one way through.
Watch for secondary mechanics. Some block puzzles involve elemental magic or weight-triggered traps. A block might need to be positioned while you’re standing on another pressure plate, or environmental hazards might activate if you’re not careful. Read the room before committing to a sequence.
Don’t overthink repositioning. If you’ve moved a block and realize it’s in the wrong spot, check if there’s a way to push it again. Most rooms are designed so you can correct mistakes, though this might mean pushing a block all the way across the room again. Some players restart these puzzles out of impatience, but patience usually pays off.
Use checkpoints. If a puzzle is part of a larger challenge or dungeon, the game often remembers your progress. You won’t lose block positions if you save and quit, so take breaks without fear of losing ground.
Elemental Puzzles
Elemental puzzles weaponize the four spell schools, Bombarda, Glacius, and Confringo primarily, to manipulate the environment. These puzzles test both your spell knowledge and your ability to identify what the puzzle is asking for.
Fire and Bombarda Puzzles
Bombarda is the primary explosive spell used in fire-based puzzles. You’ll use it to destroy cracked walls, detonate barrels, or break ice formations. Some puzzles require you to hit a target from a specific distance or angle: others demand chain reactions where one explosion triggers another.
Key mechanics:
- Cracked walls always indicate Bombarda targets. Destroy them to reveal passages or objects.
- Some wooden barriers or debris blocks can be destroyed with Bombarda, opening new paths.
- Explosive barrels (usually colored red or with visible warning markings) chain-react. Destroy one barrel near others to trigger a cascade.
- Timed sequences occasionally matter, you might need to hit a target before a barrier closes or while a timer counts down.
Pro tip: If a puzzle seems stuck, look for smaller destructible elements. Sometimes you need to clear minor obstacles before tackling the main challenge.
Ice and Glacius Puzzles
Glacius freezes water, creates ice platforms, or locks enemies in place. In puzzle contexts, it typically freezes bodies of water so you can cross them or freezes moving hazards temporarily.
Common applications:
- Frozen platforms appear when you cast Glacius on water. These are temporary, you have a limited window to cross before they thaw.
- Some mechanisms require ice to function. A frozen tile might activate a door or mechanism that only works when cold.
- Enemies caught in Glacius are immobilized briefly: puzzle chambers sometimes require you to freeze threats before they hit a trigger.
Timing matters here. If a puzzle asks you to cross a frozen bridge and the ice is melting, cast Glacius again to refresh the platform. The spell has a cooldown, so plan sequences accordingly.
Electric and Confringo Puzzles
Confringo is the fire-damage spell (not to be confused with Bombarda’s demolition). It ignites fuel canisters, lights torches, and activates flame-based mechanisms. Electric puzzles are rarer but use similar logic, hitting conductive targets with Confringo or other electricity-based effects.
Applications:
- Torches and braziers must be lit to unlock doors or reveal secrets. Confringo ignites them instantly.
- Fuel canisters (marked and obvious) trigger explosions or activate machinery when ignited.
- Some mechanisms respond to heat or electrical discharge, and you’ll need to activate them in sequence.
Watch for interactive objects with a slight glow or visual indicators. If something looks like it should be ignited or activated, it probably should be. The game is generally forgiving about trial-and-error here, cast Confringo, see what happens, and adjust.
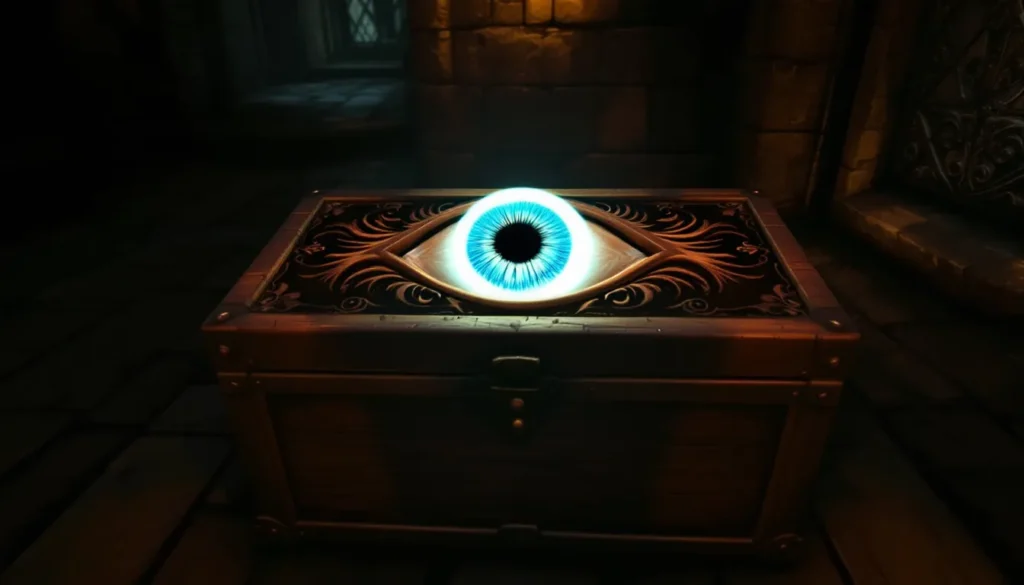
Door and Lock Puzzles
Door and lock puzzles appear frequently and range from simple symbol-matching to more elaborate enchanted mechanisms. They’re rarely difficult but do require observation and sometimes spell knowledge.
Symbol-Matching Locks
These locks present a series of symbols on rotating rings or sliding panels. Your goal is to match all symbols to a target configuration shown elsewhere in the room (or provided via environmental hints).
How to solve:
- Examine all symbols in the room. Some are painted on walls, carved into stone, or visible on the lock itself.
- Rotate or slide the lock components until they match the target pattern.
- Most locks allow free rotation, experiment without penalty. There’s no time limit or consequence for wrong attempts.
- If you’re stuck, backtrack and examine the room more carefully. The target pattern is always visible somewhere: you might need to look behind obstacles or from specific angles.
These puzzles reward thoroughness over cleverness. Take your time, check every surface, and cross-reference symbols methodically.
Enchanted Door Mechanics
Some doors are locked by magical means, glowing runes, enchanted barriers, or sealed portals. These typically require specific spells or environmental conditions to open.
Common scenarios:
- A door might be locked by Protego (shield charm). Hitting it with a counter-spell or spell combination breaks the barrier.
- Light-based locks require you to activate torches or other light sources in the correct sequence. Illuminate all torches, and the door unlocks.
- Pressure mechanisms demand you stand on multiple plates simultaneously or hold positions while casting. Sometimes you need to position objects (like blocks) on plates while you activate something else.
These puzzles occasionally involve teamwork or creative spell usage. If a straightforward approach doesn’t work, consider whether multiple spells or objects can interact. For instance, you might freeze water to create a platform, then push a block onto a pressure plate from that platform.
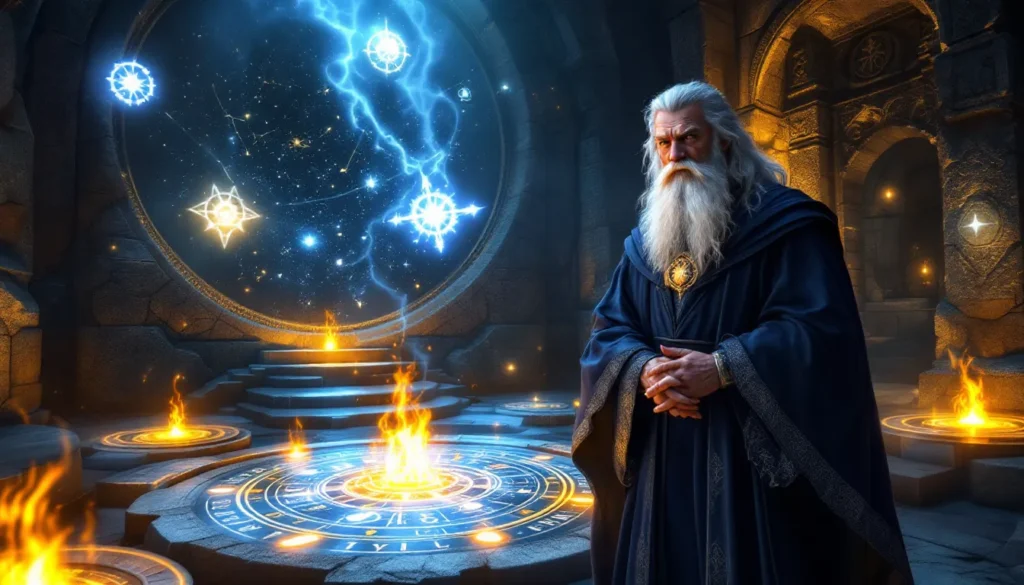
Astronomical and Celestial Puzzles
Astronomical puzzles leverage the game’s beautiful night sky and stargazing mechanics. These puzzles involve aligning constellations, rotating celestial mechanisms, or identifying specific stars to unlock secrets.
Rotating Constellation Puzzles
These present circular dials or rotating mechanisms decorated with constellation symbols. Your task is to align the constellations to match a target configuration.
Approach:
- Observe the target pattern. It’s usually visible on a plaque, ancient tablet, or image within the puzzle room.
- Rotate the dials until all constellations align correctly. This is pure rotation, no timing pressure or mistakes that break the puzzle.
- Some chambers have multiple nested dials requiring sequential rotation. Work from outer rings to inner ones, or follow any visual hierarchy.
These puzzles are methodical rather than challenging. Take screenshots or mental notes of the target pattern, then rotate methodically. If you get turned around, step back and re-examine the target.
Star-Alignment Challenges
Star-alignment puzzles appear in specific locations (often associated with Astronomy class or themed chambers). You’ll typically use magical binoculars or a similar mechanism to identify specific stars in the night sky, then input those identifications into a mechanism.
Mechanics:
- You’re given clues about which stars to identify (e.g., “the brightest star in the northern quadrant”).
- Use the in-game stargazing tools to locate them. The game highlights or focuses on the correct star when you’re looking at the right area.
- Input the star sequence into the mechanism. Get the order right, and the puzzle completes.
These are knowledge-based rather than spatial. Pay close attention to clues, and don’t be afraid to use the stargazing mechanic multiple times to confirm you’re looking at the correct celestial body. The game provides enough visual feedback that guessing is rarely necessary.
Potion-Brewing and Collection Puzzles
Potion-brewing puzzles reward exploration and ingredient collection. Unlike combat or spellcasting puzzles, these test your knowledge of the game world and attention to detail.
How they work: A puzzle or locked mechanism requires a specific potion as a key. You’ll need to identify which potion, gather ingredients scattered throughout the area, and brew it at a cauldron. This is less a puzzle and more a scavenger hunt with a crafting step.
Examples include:
- A sealed door that opens only when you’ve brewed a Wiggentree Bark Potion nearby.
- A puzzle chamber that demands a Draught of Insight to reveal hidden pathways.
- Environmental hazards (like magical fire or toxic fog) that dissipate when you drink the correct potion.
Strategy: These puzzles are solved through world knowledge and resource gathering. If a puzzle mentions needing a potion you don’t recognize, check your Potion Crafting menu to see what ingredients are required, then explore the surrounding area for those ingredients. They’re always nearby, and the game rarely locks you into an unsolvable state. You can always leave, gather ingredients elsewhere, return, and brew what you need.
Collection puzzles sometimes appear as variants, gathering all five pieces of an artifact, collecting all books in a series, or finding hidden items scattered around a location. These are more about thorough exploration than puzzle-solving, but they unlock rewards and story content.
For efficiency, when entering a new area with potential collection puzzles, take a moment to visually scan before committing to combat or progression. You might spot collectable items or brewing ingredients that’ll save a second trip.
Combat-Based and Environmental Puzzles
Some of Hogwarts Legacy’s most interesting puzzles blend combat mechanics with environmental problem-solving. These aren’t traditional “puzzles” in the chess-like sense, they’re combat or exploration challenges disguised as puzzle solutions.
Gauntlet-style puzzles trap you in a chamber and spawn enemies. Defeat all enemies, and the exit unlocks. These aren’t puzzle-solving in traditional terms, but they represent a puzzle type you’ll encounter frequently. Success depends on your combat build, spell loadout, and ability rotation rather than spatial reasoning or symbol-matching.
Environmental hazards as puzzle mechanics appear when the chamber itself is the challenge. A room might be flooded with magical fire, and you must navigate using ice platforms (Glacius) while avoiding flames. Another might have moving platforms or falling obstacles that you must time correctly to progress. These demand spell management and mobility rather than logic.
Trap rooms occasionally require you to disable or circumvent hazards before progressing. You might need to use your broom to fly over a spiked floor, or use Bombarda to destroy trap mechanisms before they activate.
These puzzles frequently overlap with exploration. For instance, a spell combo might simultaneously defeat enemies and activate mechanisms, forcing you to multitask. The key is recognizing that some “puzzles” are really tests of your ability to manage spells, positioning, and resources under pressure.
Prepare before entering combat-based puzzles by refreshing your potion stocks and ensuring your spell bar is optimized for the expected challenge. Read the room for environmental clues, fire suggests needing frost spells, electricity suggests needing grounding mechanics, and so on.
Tips for Solving Puzzles More Efficiently
Speed comes with experience, but a few principles accelerate the learning curve and reduce frustration.
Using the Camera and Environment to Your Advantage
Hogwarts Legacy’s camera is your greatest puzzle-solving tool. Many puzzles provide clues or target patterns that are only visible from specific angles. Rotate your camera to examine:
- Painted symbols on distant walls or ceilings.
- The full layout of block positions or pressure plates.
- Constellation patterns or celestial references.
Don’t assume you’re seeing the full puzzle from your default perspective. Zoom out, pan around, and look up and down. Some solutions become obvious once you’ve observed the puzzle from all angles. This is particularly true for rotating constellation puzzles or symbol-matching locks where the reference pattern might be hidden on a wall you haven’t turned to face yet.
The environment also contains hints. Glowing runes indicate where spells should be cast. Darker or discolored tiles suggest pressure plates. Scorch marks near barrels indicate those barrels have been used in puzzles before. Read the environment like a language, it communicates what you should do, even if it doesn’t provide explicit instructions.
Managing Spell Cooldowns While Puzzle-Solving
Spells have cooldowns, and some puzzles require casting the same spell multiple times. Understanding cooldown mechanics prevents frustrating delays:
- Faster cooldowns apply to some spells (Diffindo, Bombarda) compared to others (Confringo, Glacius).
- Some spells recharge faster when you hit enemies or objects. If a puzzle allows it, cast spells on enemies mid-puzzle to reduce downtime.
- Potions can reduce cooldowns or grant temporary spell buffs. If you’re struggling with a puzzle that demands repeated casting, use a potion to accelerate your attempts.
For lengthy multi-step puzzles, manage your spell rotation strategically. If you need Bombarda three times but the cooldown is long, intersperse other spells or actions while waiting for Bombarda to refresh.
Also, don’t be afraid to leave a puzzle and return later if you’re stuck. Sometimes stepping away resets your perspective, and you’ll see a solution instantly upon return. The game remembers puzzle progress, so you won’t lose any ground by taking a break. This is especially true for optional puzzles that guard chests or cosmetics, they’re not worth frustration, and you can always come back with a clearer head.
Read recent patch notes or updates when puzzles seem overly difficult. Game balancing patches occasionally adjust spell mechanics or cooldowns, and what was challenging in an earlier patch might be more manageable now. Similarly, if you’ve acquired new spells or gear, revisit earlier puzzles, your expanded toolkit might trivialize challenges that seemed impossible before.
Conclusion
Hogwarts Legacy’s puzzles span an impressive range of mechanics, from straightforward block-pushing to complex multi-step environmental challenges. The beautiful part is that they’re never designed to trap you permanently, there’s always a solution, and the game provides enough visual feedback and hints that figuring things out is rewarding rather than frustrating.
The core strategy remains constant regardless of puzzle type: observe thoroughly, consider all available spells and tools, and don’t overthink. Most solutions are intuitive once you’ve examined the puzzle from multiple angles and understood what resources you have available. Whether you’re aligning constellations, pushing blocks into position, or managing spell cooldowns in a trap-filled chamber, the logic is clear. The satisfaction comes from recognizing that logic and executing it cleanly.
As you progress through Hogwarts Legacy, you’ll build intuition for these puzzle types, and later challenges become faster to solve. Keep exploring thoroughly, the secret to puzzle mastery isn’t intelligence but observation and patience. Every chamber has been designed with a solution in mind, and your job is simply to recognize what the designers intended. With these strategies in your arsenal, you’ll unlock secrets, find hidden rewards, and progress through the game with confidence.